

TP-Link Routers are one of the best in the market, providing good quality and service with long-range. TP-Link Routers can be easily set up with your internet modem and you will be able to enjoy the internet on your TP-Link Wireless connection. TP-Link Routers are very easy to set up and you can set up the router with internet modem in just a few minutes.
Here is how you can easily set up your TP-Link Router in just a few minutes:
- Connect your TP-Link Router and Modem by using an Ethernet Cable in the WAN port. The WAN port is differently colored from the rest of the ports, usually yellow.
- Now, connect your computer to the TP-Link Router network, wirelessly, or using a wired cable.
- Open a web browser on your PC and in the address bar type www.tplinkwifi.net or tplinkwifi.net and press Enter.
Note: If the above URLs don’t work for you then try logging via IP address 192.168.1.1 or 192.168.0.1.
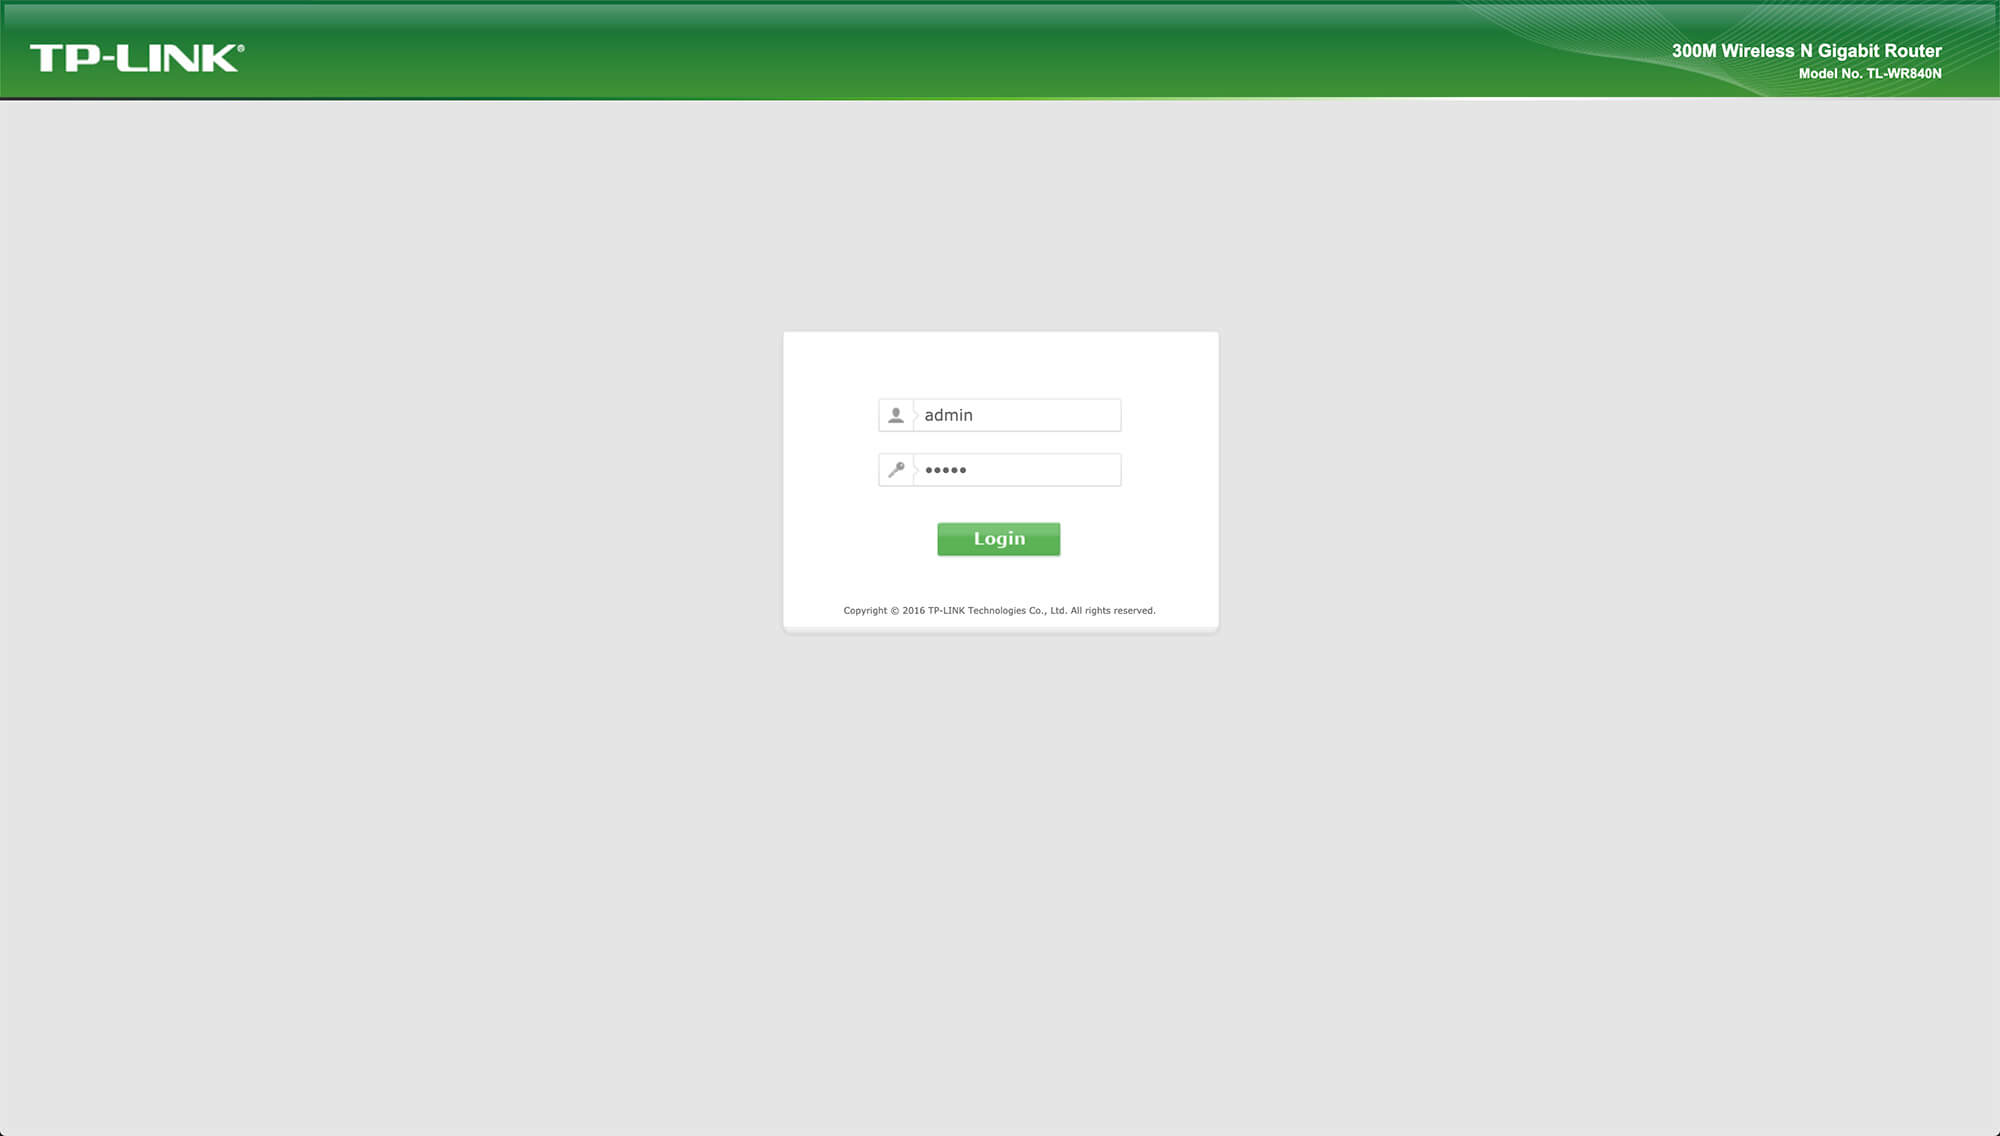
- You will be taken to the TP-Link Router login page. On your first visit, you will be asked to set up an administrator password which will be used to login to the admin panel of the router. Set up a strong and secure password and click on Let’s Get Started.
- You will be asked to set your time zone. Select the correct time zone and click on Next.
- You will now have to select your connection type, Dynamic IP, Static IP, PPPoE, L2TP, or PPTP. If you are not sure about your connection type then click on Auto Detect.
- Depending on your internet connection type, you will be asked to enter the required details.
- Then you will be given a choice to clone or not clone the MAC Address of the current computer. If you are not sure about what this is then select Do NOT Clone MAC Address.
- Now, you will have to configure your wireless network. For most routers, you will have more than one network. Select if you want more than one network or not and then set the SSID and password for your network(s).
- Now, confirm your network settings to make sure that they are correct and click on Save.
- The router is now set up and you will be able to enjoy the internet. If you have a TP-Link Cloud account then you can log in or create a new TP-Link Cloud account.
How to protect and secure your router?
Once you have set up your router, you should make sure that it is safe, secure, and protected. To protect and secure your router, here are a few things that you should do:
- The first thing that you should do is set a strong encryption method/protocol. There are different encryption protocols available such as WEP, WPA, WPA2, etc. If you have a new router, you should probably go with WPA3 because it is the most secure and advanced encryption protocol. If WPA3 is not available, then you should pick WPA2 because it is the most secure one after WPA3.
- The next thing that you should do is set up a secure and strong passphrase. Common passphrases are easy to predict and guess. You set a strong passphrase that is a combination of upper-case, lower-case letters, digits, and special symbols. Such passwords cannot be guessed by anyone and it would be very hard for any program to crack your password.
- To take things to the next level, you should also set up MAC Address filtration. With the MAC Address filtration feature, you can filter out MAC Addresses of specific devices and it only allows specific MAC Addresses to join the network. The rest of the devices are prohibited from joining the network.